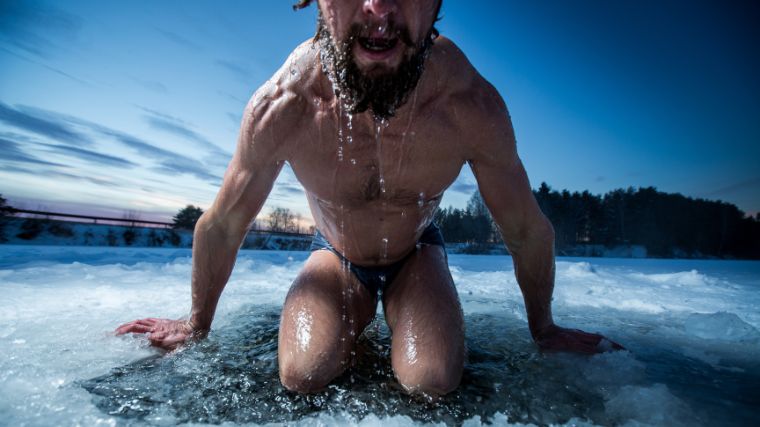
If you’ve ever taken an uninhibited dive into a pool full of cold water, you’re aware that your brain registers the rapid dip of your skin’s temperature as an unwelcome shock to its system. While your body will eventually acclimate itself to its aquatic surroundings, sometimes the discomfort lingers for several minutes, making water an unappealing place to loiter.
Since mild aggravation often accompanies recreational waters that are only mildly cold, how on earth could anyone be cajoled into immersing themselves into frigid water for the sake of health? The truth is, there are a number of reported benefits to voluntarily subjecting yourself to a bone-chilling cold plunge bath — a practice that is only increasing in popularity.

Although these cold water immersion devices are often prohibitively expensive, you can assemble a functional approximation of a cold plunge at a fraction of the cost. As a result, you can enjoy the restorative physical advantages of regulated low temperatures without the sky-high price tag attached to them. Here’s how to rig yourself a DIY cold plunge.
Editor’s Note: The content on BarBend is meant to be informative in nature, but it should not be taken as medical advice. When starting a new training regimen and/or diet, it is always a good idea to consult with a trusted medical professional. We are not a medical resource. The opinions and articles on this site are not intended for use as diagnosis, prevention, and/or treatment of health problems. They are not substitutes for consulting a qualified medical professional.
What Is a Cold Plunge?
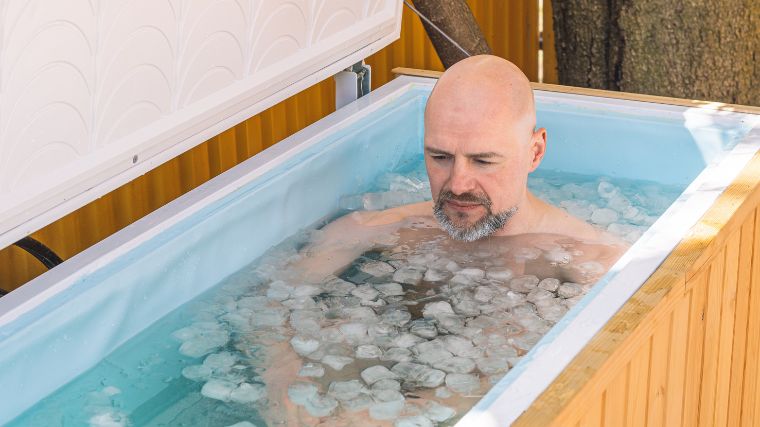
A cold plunge is a specialized cold water therapy tub that requires you to submerge yourself in water that is usually maintained at a temperature between 45 and 55 degrees Fahrenheit. Those who regularly bathe themselves in cold plunges report benefits that stretch across several domains, from physical improvements to psychological and emotional enhancements.
When it comes to the optimal length of your cold plunge bath, opinions vary widely. Some sources report three minutes as the maximum safe time. Others suggest that you won’t even begin to experience any of cold plunging’s benefits until you can sustain immersion for at least 10 minutes. As with any physically demanding activity, please progress carefully and always err on the side of caution.
Cold Plunge Options
The price tags of some specialty cold plunging tubs are capable of administering a shock to your system far beyond what you can get from brisk water. Modern cold plunges arrive replete with technologies that sustain icy water temperatures, circulate liquid, and even illuminate the tub.
Yet, all of these amenities often arrive at a steep price that you may not consider to be worth the money if all you’re looking for is a five-minute dip in some icy-ish waters.

[Read More: The Best Foods for Energy Before, During, and After Your Workouts]
If you’re not keen on forking over several thousand dollars for state-of-the-art cold plunge tech, there are far less expensive ways to build a device on your own that can acceptably chill your body into compliance.
In fact, your ideal cold water solution may be achievable through the simple repurposing of a few items you already own. By following just a few simple steps, you can build a device that will help you keep your cool while also permitting you to maintain the majority of your money as well.
What You Need To Build a Cold Plunge
If you don’t feel like forking over thousands of dollars to purchase a completed cold plunge apparatus, you can build one of your own for a fraction of the cost. All you need is a few hundred dollars and a spare afternoon, buttressed by a little motivation, elbow grease, and a few key items:
- Freezer Chest
- Caulking Gun with Marine Sealant
- Flex Seal (or similar)
- Temperature Controller
- A Convenient Water Source
How to Do a DIY Cold Plunge Step-by-Step
Now that you’ve cobbled together all of the necessary components, the actual task of assembling your cold plunge is a snap. In fact, you’re only one well-managed afternoon away from soaking yourself in wintry waters.
Step 1 — Purchase a Freezer Chest
Any freezer chest will do as long as it’s of sufficient volume, and with proportions that facilitate your ability to lie down with your head above the water. In this case, you’ll want a freezer chest with a volume of at least seven cubic feet, which equates to a little over 50 gallons of water.
At an in-store discount, an adequate freezer chest can probably be acquired in the ballpark of 200 dollars, although you can probably locate a used freezer chest for far less.
Step 2 — Caulk the Seams
Your first step toward converting your freezer chest into a cold plunge will be to get your hands on a caulking gun to seal any seams. This will require the use of marine sealant to ensure that your caulk is sufficient to withstand repeated exposure to water. You will also want to apply caulk to any seams in the area around the drain plug without actually caulking the drain plug completely shut.
Step 3 — Spread the Sealant
Once the caulk has fully dried, your next step will be to spread a layer or two of sealant over the interior of the freezer chest if you wish to be extra diligent about controlling leaks. Whether you use Flex Seal or a similar sealant, you’ll want to be careful not to spread the sealant directly over the drain plug.
This way, you will retain your easiest method of emptying out the dirty water from prior immersions before replacing it with fresh water.
Step 4 — Install Your Temperature Controller
Now that your freezer chest has been sufficiently sealed off, the final remaining step is to affix a temperature-controlling mechanism. First, plug the temperature controller into an electrical outlet, then plug your freezer chest into the temperature controller.
Next, place the probing attachment of the temperature controller into the freezer. From there, the temperature controller will maintain the temperature of your water at your predetermined level.
Step 5 — Fill Your Cold Plunge With Water
Now that everything is in place, what was once an ordinary freezer chest has undergone a full metamorphosis into a passable cold plunge. The only thing left to do is to fill it with water, which is most easily accomplished by way of a garden hose — especially if your cold plunge is located outdoors.
Note: Do not, under any circumstances, immerse yourself in the water while the freezer chest is plugged in.
Benefits of a Cold Plunge
It wouldn’t make a whole lot of sense to go through all of the trouble of building your own cold plunge if there weren’t some worthwhile benefits associated with ice baths. Many people swear that the process of cold water immersion can upgrade several facets of your physical and mental health.
Note that it is a frequent criticism of cold-water immersion studies that their testing pools have either been too small, or the subject selection process has been compromised.
[Read More: The Best Ashwagandha Supplements For Sleep, Testosterone, And More]
In other instances, it has been suggested that the findings in the testing environments are incorrectly extrapolated to the real world. (1) As such, you should draw your own conclusions based on your body’s individual response to cold plunging, and see which of these benefits you personally experience.
Alleviated Muscle Soreness
If you perform plenty of resistance training or engage in impact-heavy cardio, cold plunging may be a reliable way of dissipating muscle soreness and rapidly alleviating pain. In testing, cold water immersion lowered muscle metabolic activity while increasing muscle oxygenation, thereby contributing to the rapid alleviation of muscle soreness. (2)
Accelerated Physical Recovery
When compared with their peers, athletes participating in cold water immersion protocols recovered some of their functionality more quickly, according to some data. This included improved muscle function, reduced inflammation and oxidative stress, and faster recovery of top-end speed. (3)
[Read More: Omega 3 Benefits — More Muscle, Better Recovery, and Enhanced Endurance]
This suggests that in addition to making your physical discomfort disappear, cold plunging can also restore your body to its proper working order far quicker than traditional rest and relaxation.
Enhanced Immunity
Repeated cold water immersion was linked with an increase in monocytes, T-helper cells, T suppressor cells, and other cells responsible for defending the body in certain studies. (4)
The presumption is that the cold water acts as a non-infectious stress-inducer, which causes your body’s immune system to spring into action, along with a boosted metabolic rate. Therefore, cold plunging is potentially able to help you be more resistant to assorted illnesses.
Improved Mental Focus and Reduced Depression
Aside from physical benefits, cold plunging has been linked to positive mental and psychological changes as well. Participants in at least one study had their brain connectivity and emotional states measured after sitting in a cold bath for five minutes.
[Read More: 5 At-Home Workouts for Strength, Muscle Growth, Power, and More]
Afterwards, the participants reported feeling “more active, alert, attentive, proud, and inspired and less distressed and nervous after having a cold-water bath.” (5)
Cold Plunge Alternatives
If all of these aforementioned options still seem well beyond your budget, there’s no need to fret. There are several available cold-bathing options that will enable you to indulge in some ice water therapy at an even lower investment figure than that required for a DIY cold plunge.
The Bathtub Method
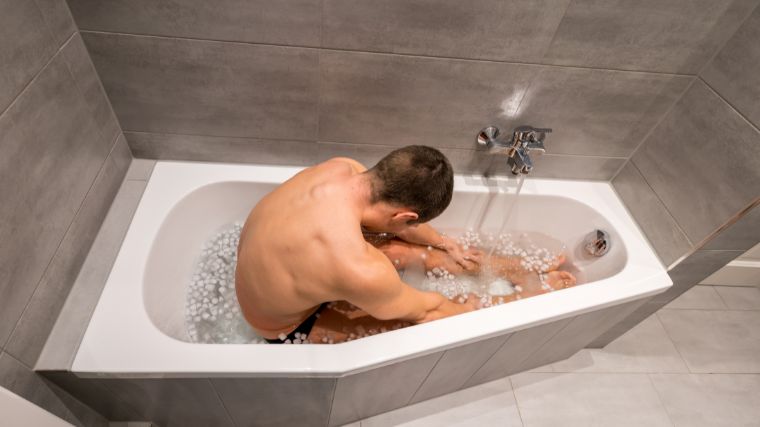
If you have a bathtub at home, you can repurpose it for a makeshift cold plunge. Most bathtubs can hold between 40 to 60 gallons of water, and most taps will emit water at a temperature of 60 degrees at their coldest settings. This means the water doesn’t need to get that much colder in order to drop into the acceptable cold bath range.

[Read More: The 12 Best Vegan Protein Powders]
In order to bring your tub to an acceptable temperature range that it can sustain throughout your frosty dip, grab some ice bags from the gas station or grocery store. It is advised that you use one pound of ice per gallon of water, so make sure you have five 10-pound bags of ice at the ready if you plan to fill a 50-gallon tub.
The Galvanized Steel Trough
If you happen to live in a rural area with access to a galvanized steel trough for housing flowers or feeding animals, you may want to empty out the plants and grains and replace them with ice and water.
Steel troughs come with a protective layer of zinc, which defends it from the factors that contribute to rust. It will also be sufficiently sturdy so that if you shift around inside of it, you don’t have to worry about the structure bending while you move.
The downside to using a steel tub is that steel is an excellent conductor of heat, which means that your water is likely to heat up more rapidly in this sort of tub than in others. This is especially true if you intend to engage in cold baths outside. It might be wise to keep a bag of supplemental ice on standby.
The Rubbermaid Tank
If you want to rest in something that might be a bit more comfortable than a steel tub, the surface of a Rubbermaid tank is a bit more forgiving. The tradeoff might be that the surface of the tank is too forgiving, and bends far too much as you shift your weight.
[Read More: The 16 Best Pre-Workout Supplements]
On the plus side, plastic does not conduct heat, which makes it an excellent thermal insulator. As a result, you can expect your Rubbermaid tank to sustain the ice and water at their coldest possible temperature for longer than other materials that you could be taking a bath in.
The Kiddie Pool
When your children aren’t using the kiddie pool, and especially if they’ve outgrown it, you can repurpose that kiddie pool into an ice bath. Since most kiddie pools are of adequate size and cost well under a triple-digit price tag, they are easily among the most inexpensive items you can fill with icy water and slide into.
Cold Comfort Made Easy
The tactical application of cold water to your body for the purpose of health optimization needn’t be a pursuit that pries away too much of your cold, hard cash. With minimal effort, you can construct a perfectly serviceable cold plunge all by yourself, or you can opt for any number of less sophisticated, yet similarly effective methods.
Regardless as to what route you choose, rest assured that the process of precipitously lowering your body temperature needn’t be preceded by a commensurate dip in your bank account.
FAQs
If you’re looking into building your own cold plunge, we suspect that you might have a few questions. Here are some answers for speed you on your way:
Can you make your own cold plunge?
Yes you can. A fully operable cold plunge can be crafted using two readily available store-bought appliances, and a couple of items from the home improvement aisle.
What do you need for a cold plunge?
To make your own cold plunge, all you require is a freezer chest, caulk, sealant, a temperature controller, and a source of water.
What are the benefits of cold plunge?
Studies have connected cold plunging with an elaborate set of benefits. These range from a reduction of muscles soreness and accelerated muscle recovery to elevated immunity to illness and an improved mental state.
How long should you cold plunge for?
The ideal length of your cold plunge is subject to debate. Some proponents of cold plunging claim that any length of immersion is beneficial provided that you can remain in the water for at least one minute. Others claim that five minutes is the minimum required soaking time before any benefits can be achieved. For most advocates of cold plunging, the sweet spot lies somewhere between five to 20 minutes, with most experts identifying 30 minutes of immersion as potentially dangerous.
References
- Esperland D, de Weerd L, Mercer JB. Health effects of voluntary exposure to cold water – a continuing subject of debate. Int J Circumpolar Health. 2022 Dec;81(1):2111789. doi: 10.1080/22423982.2022.2111789. PMID: 36137565; PMCID: PMC9518606.
- Ihsan M, Watson G, Lipski M, Abbiss CR. Influence of postexercise cooling on muscle oxygenation and blood volume changes. Med Sci Sports Exerc. 2013 May;45(5):876-82. doi: 10.1249/MSS.0b013e31827e13a2. PMID: 23247707.
- Leeder JDC, Godfrey M, Gibbon D, Gaze D, Davison GW, Van Someren KA, Howatson G. Cold water immersion improves recovery of sprint speed following a simulated tournament. Eur J Sport Sci. 2019 Oct;19(9):1166-1174. doi: 10.1080/17461391.2019.1585478. Epub 2019 Apr 6. PMID: 30957673.
- Esperland D, de Weerd L, Mercer JB. Health effects of voluntary exposure to cold water – a continuing subject of debate. Int J Circumpolar Health. 2022 Dec;81(1):2111789. doi: 10.1080/22423982.2022.2111789. PMID: 36137565; PMCID: PMC9518606.
- Yankouskaya A, Williamson R, Stacey C, Totman JJ, Massey H. Short-Term Head-Out Whole-Body Cold-Water Immersion Facilitates Positive Affect and Increases Interaction between Large-Scale Brain Networks. Biology (Basel). 2023 Jan 29;12(2):211. doi: 10.3390/biology12020211. PMID: 36829490; PMCID: PMC9953392.
Featured Image: Dudarev Mikhail / Shutterstock
The post How to Make Yourself a DIY Cold Plunge appeared first on BarBend.

